Troubleshooting
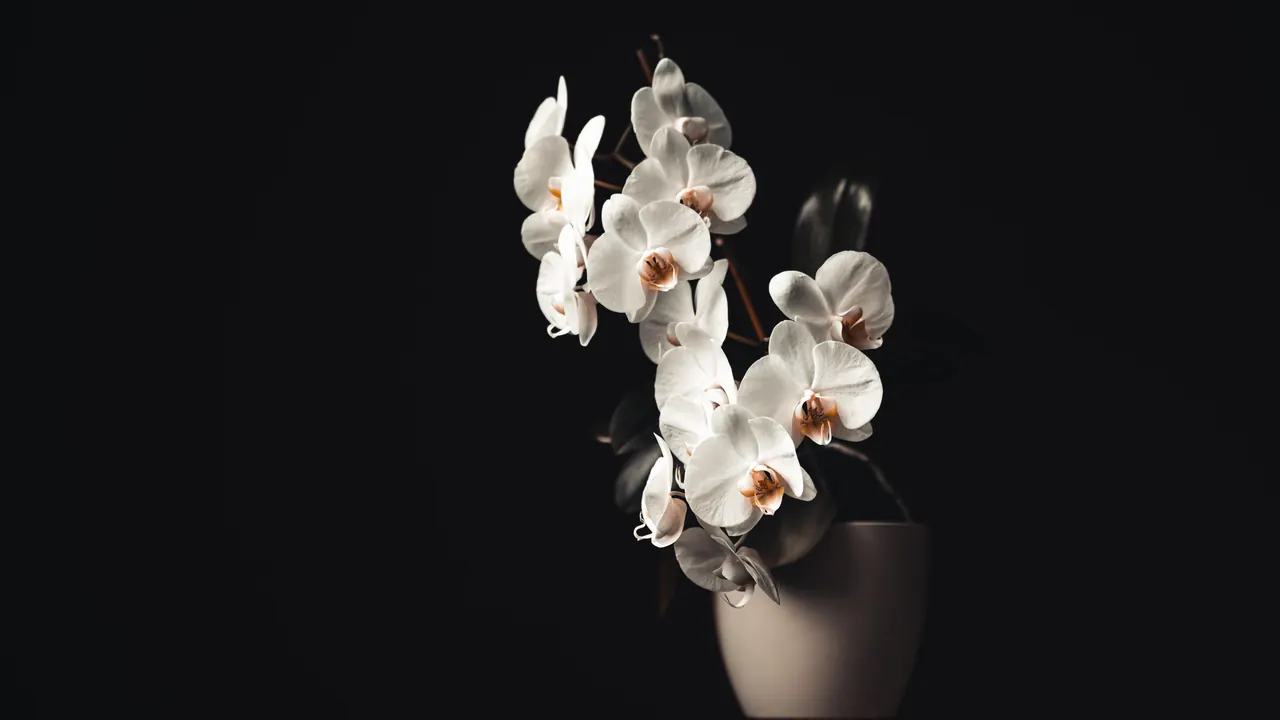
Why Are My Orchid Leaves Turning Yellow?
Wondering why are my orchid leaves turning yellow? Tell normal bottom-leaf aging from overwatering, root rot, sunburn, and cold, plus how to water correctly.
Disclosure: The Plant Pages is reader-supported. Some pages include ads and affiliate links, and we may earn a commission from qualifying purchases, at no extra cost to you.
You spot a yellow leaf on your orchid and your stomach drops, because a yellowing leaf on most plants spells trouble. With orchids, the answer depends entirely on which leaf and how many. Quick answer: a single old leaf at the very bottom of a Phalaenopsis turning yellow slowly is normal aging and nothing to fix, but yellowing higher up, several leaves at once, or rapid yellowing usually signals overwatering and root rot, too much direct sun, or cold exposure. The way to tell them apart is to check the location, the pace, and most of all the roots. Below I’ll walk through each cause, how to diagnose which one you have, and how to water an orchid so it stays green.
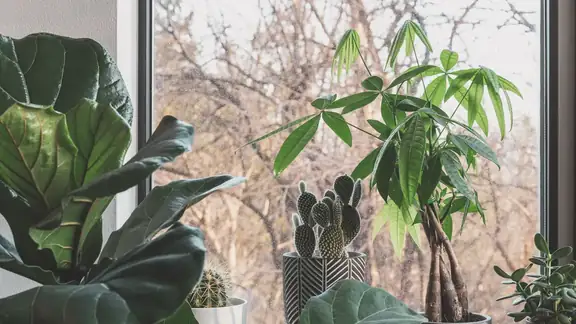
First, identify your orchid
Most orchids sold as houseplants are moth orchids, or Phalaenopsis. They have broad, flat, leathery leaves arranged in two rows, and they bloom with long-lasting flowers on an arching spike. This guide focuses on Phalaenopsis because it’s by far the most common orchid in homes and the one people most often worry over. If your plant has thin grassy leaves, plump pseudobulbs at the base, or a fan of tall sword-shaped leaves, it may be a different genus with slightly different needs, but the core logic of reading a yellow leaf still applies.
The single most useful habit you can build: when you see yellow, look at exactly where it is on the plant before you do anything. That one observation rules cause in or out faster than anything else.
Cause 1: Normal bottom-leaf aging (don’t panic)
Here’s the good news first, because it’s the most common reason of all. Orchid leaves do not live forever. A healthy Phalaenopsis grows new leaves from the center, or crown, and over time retires its oldest leaves from the bottom. When that happens the lowest leaf gradually turns yellow, then soft and papery, and eventually drops or detaches cleanly.
This is completely normal and you cannot stop it. The plant is recycling nutrients out of the old leaf before it lets it go, exactly the way a tree drops its oldest foliage.
How to recognize natural aging:
- It’s the lowest leaf on the plant, not one near the top or in the middle.
- It’s only one leaf at a time, while the rest of the plant looks firm and green.
- The change is slow and even, spreading across the whole leaf over a couple of weeks.
- The roots look healthy and the newer leaves are plump.
When it’s clearly natural aging, the best move is to leave the leaf alone and let it yellow fully and detach on its own. Pulling a partly attached leaf can tear the stem and create a wound that invites infection. Once it comes away with the gentlest tug, or drops by itself, you’re done. No treatment needed.
Cause 2: Overwatering and root rot (the most common real problem)
When the yellowing isn’t a single old bottom leaf, overwatering is the first thing to suspect, and it’s the cause that kills the most orchids. It feels backwards, but a yellow, limp orchid is far more often too wet than too dry.
Phalaenopsis don’t grow in soil in the wild. They’re epiphytes that cling to tree bark with thick roots exposed to air, soaking up rain and then drying quickly. When their roots sit in soggy, airless bark mix, they suffocate and rot. Rotted roots can’t take up water, so ironically the leaves go limp, wrinkled, and yellow even though the pot feels damp. People often respond by watering more, which makes it worse.
Signs that point to overwatering and root rot:
- Several leaves yellowing or going limp and leathery, not just the bottom one.
- The potting mix stays wet for many days and may smell sour.
- Roots that are brown, soft, mushy, or hollow instead of firm.
- A general droop and loss of plumpness across the whole plant.
The decisive test is to check the roots, which is easy with an orchid. Slide the plant out of its pot, or peer through the clear plastic pot many orchids come in. Healthy roots are plump and firm, green when wet and silvery-white when dry. Rotted roots are brown, squishy, and may slip apart between your fingers like a wet thread.
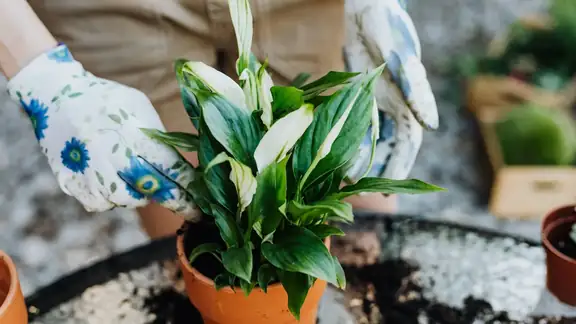
If you find rot, act promptly. Unpot the plant, rinse the roots, and trim away every soft, brown, or hollow root with a sterilized blade, keeping only firm ones. Then repot into fresh, chunky orchid bark in a pot with plenty of drainage, and water more carefully going forward. An orchid can recover from losing many roots as long as the crown and a few good roots remain. For step-by-step repotting and rot-rescue technique, our peace lily care guide covers the same root-rot logic on a beginner-friendly plant if you’d like to practice the diagnosis on something more forgiving first.
Cause 3: Too much direct sun
Orchids want bright light, but in nature that light is filtered through a forest canopy, not blasting straight onto the leaves. A Phalaenopsis parked in a hot, south-facing window with hours of direct midday sun can scorch, and one of the early signs is yellowing.
Sun-stress yellowing looks different from the other causes. It tends to show on the upper leaves that catch the most light rather than the bottom of the plant, and it often comes with bleached, washed-out patches or, in worse cases, sunken tan, brown, or black scorched spots where the tissue actually burned. The leaves may also feel hot to the touch on a sunny afternoon.
Healthy Phalaenopsis leaves are a medium grass green. Very dark green leaves usually mean the plant wants more light, while yellow-green or reddish-tinged leaves often mean it’s getting too much. If you suspect sunburn, move the plant back from the glass or to an east-facing window, or add a sheer curtain to diffuse the harshest rays. Burned patches won’t turn green again, but stopping the exposure prevents new damage and the plant carries on growing.
Cause 4: Cold exposure
Phalaenopsis are tropical and have no tolerance for cold. A sudden chill can shock the plant and trigger yellowing, sometimes followed by leaves dropping. Common culprits indoors are a leaf pressed against a freezing windowpane in winter, a cold draft from an exterior door, or the cold blast from an air-conditioning vent.
Cold damage often shows up as yellowing along with soft, pitted, or water-soaked-looking patches, and it can appear a day or two after the chilly episode rather than instantly. The classic case is the orchid bought in winter and carried to the car without a sleeve: a few minutes in freezing air is enough to set off yellowing later.
Keep your orchid in a spot that stays between roughly 65 and 80°F (18 to 27°C), away from cold glass, drafty doors, and vents. If you’ve recently moved the plant or the weather turned, factor that in before assuming the worst about the roots.
How to tell which cause you have
When you’re staring at a yellow leaf, run through this quick checklist. It narrows things down fast.
| What you see | Most likely cause |
|---|---|
| One bottom leaf, slow even yellowing, rest of plant firm | Normal aging, no action needed |
| Several leaves limp and yellow, mix stays wet, roots brown/soft | Overwatering and root rot |
| Upper leaves yellowing with bleached or sunken scorched spots | Too much direct sun |
| Yellowing with soft water-soaked patches after a cold spell | Cold exposure |
| Yellow with black or brown sunken spots that spread | Sunburn or fungal/bacterial infection |
The two observations that resolve most cases are location and the roots. Bottom leaf, healthy roots, and you can relax. Multiple leaves or higher leaves, and you need to investigate, starting with sliding the plant out of its pot to inspect the roots. That five-minute check is the most reliable diagnostic an orchid owner has.
How to water an orchid correctly
Since overwatering causes so much of the yellowing people see, getting watering right is the single best thing you can do. The goal is to mimic a tropical downpour followed by a thorough dry-out: soak the roots well, then let air get to them again before the next drink.
The ice cube myth
You’ve probably seen orchids sold with a tag telling you to drop three ice cubes on the mix once a week. It’s popular because it’s foolproof to measure, but it isn’t the ideal way to water a tropical plant. Two problems: Phalaenopsis dislike cold against their warm-climate roots, and a few cubes melting in one spot rarely wet the whole bark mix evenly, so the roots get an inconsistent drink. The ice cube routine won’t instantly kill a tough orchid, but room-temperature watering is gentler and does a better job.
The soak method
A far better approach is to water thoroughly and let the pot drain completely:
- Take the orchid to the sink and run room-temperature water through the mix for 15 to 30 seconds, letting it pour out the drainage holes.
- Let the pot drain fully so no water is trapped at the bottom. If the orchid sits in a decorative cachepot, tip out anything that collects there.
- Avoid getting water in the crown, the central point where new leaves emerge, because trapped water there can cause crown rot. Water in the morning so any splashes dry by night.
- Then wait. Don’t water again until the mix is nearly dry and the roots have turned silvery rather than green.
That last point is the whole game. The clear pots many orchids come in are a gift, because you can see the roots: green and plump means there’s still moisture, silvery-white means it’s time to water. Lifting the pot helps too, since a watered pot feels noticeably heavier than a dry one. Most homes land somewhere around once a week, but check the roots and the weight rather than following a fixed calendar, since light, temperature, and the season all shift the timing.
When you don’t need to worry
It’s worth repeating, because the panic over a yellow leaf sends a lot of healthy orchids to the trash. If the yellowing is a single old leaf at the very bottom, fading slowly and evenly while the crown stays firm and the roots look plump and green, your orchid is fine and you should leave it be. That leaf is doing exactly what an orchid leaf is supposed to do at the end of its life.
It’s also normal for an orchid to drop its flowers and look a bit plain between blooms; a bare flower spike and a couple of retired bottom leaves are not signs of a dying plant. Save your concern for the patterns that actually warn of trouble: several leaves yellowing together, yellowing on the upper or middle leaves, mushy roots, or yellow tissue paired with spreading dark spots.
For a reliable, citation-worthy reference on this plant’s needs, the American Orchid Society’s care pages are a trustworthy place to go deeper on Phalaenopsis culture.
The bottom line
A yellow orchid leaf is a question, not a verdict. Ask where it is and how fast it’s changing, then check the roots. One slow-yellowing bottom leaf is natural aging you can ignore. Several limp yellow leaves over wet, brown roots mean overwatering and root rot, the most common real problem and the most urgent. Bleached upper leaves point to too much sun, and yellowing after a cold snap points to a chill. Fix the watering, give bright but indirect light, keep the plant warm, and your Phalaenopsis will keep pushing out fresh green leaves from the crown for years.