Propagation
How to Propagate a Christmas Cactus
Learn how to propagate a Christmas cactus from stem cuttings: when to take segments, why callusing matters, rooting in soil or water, and avoiding rot.
Disclosure: The Plant Pages is reader-supported. Some pages include ads and affiliate links, and we may earn a commission from qualifying purchases, at no extra cost to you.
A Christmas cactus is one of the most rewarding plants to multiply, and you don’t need any special tools or experience to do it. Quick answer: propagate a Christmas cactus (Schlumbergera) by twisting off a healthy stem cutting of two to three jointed segments after the plant finishes blooming, letting the cut end dry and callus for a day or two, then rooting it in lightly moist, fast-draining soil or in water until roots form in about three to six weeks. The single biggest mistake is planting a fresh, wet cutting straight into soggy soil, which makes it rot before it can root. Below I’ll walk through exactly how to propagate a Christmas cactus, step by step.
Christmas cactus propagation at a glance
Here’s the whole process in one table. The sections below explain the why behind each line.
| Step | What to do |
|---|---|
| Timing | After blooming, in spring or early summer |
| Cutting size | 2 to 3 jointed segments per cutting |
| Callusing | Let the cut end dry 1 to 2 days |
| Rooting medium | Lightly moist, fast-draining soil, or water |
| Light | Bright, indirect light, no direct sun |
| Moisture | Barely damp soil; never soggy |
| Rooting time | About 3 to 6 weeks |
| Potting up | When roots are about 1 inch long |
A quick note on the plant itself
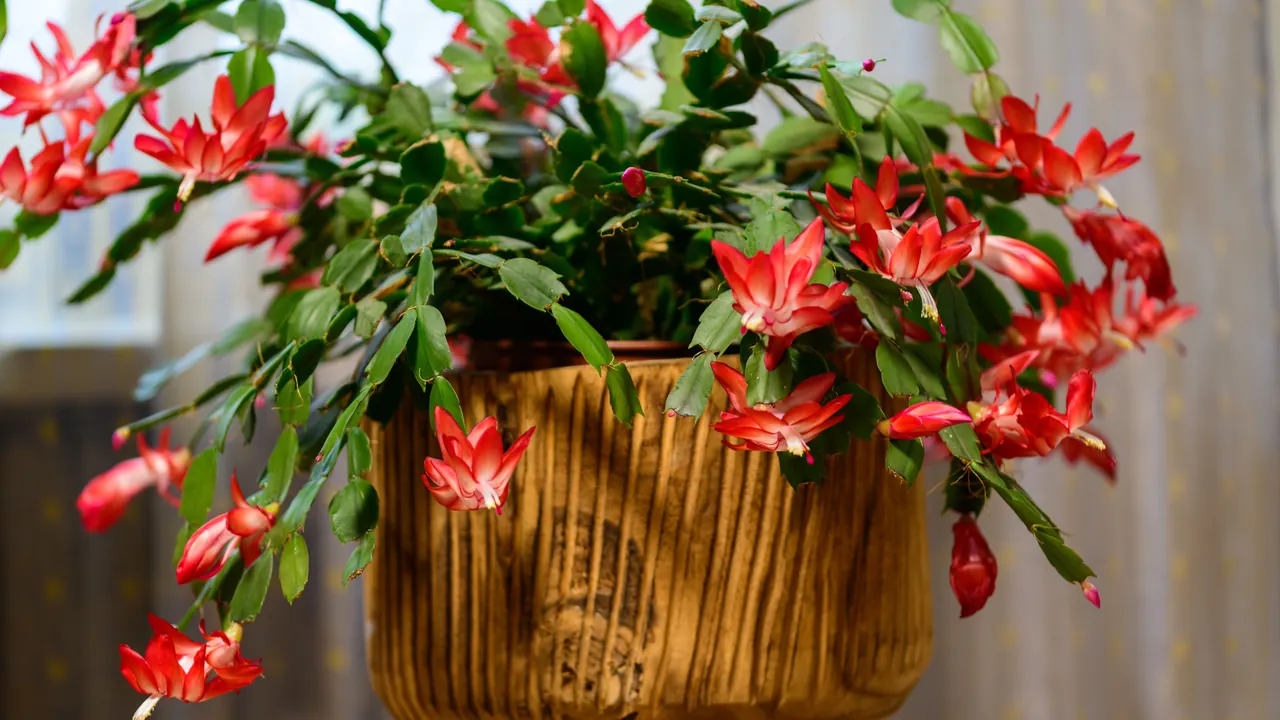
The plant most of us call a Christmas cactus is a Schlumbergera, a group of tropical cacti native to the coastal mountains of southeastern Brazil. In the wild they grow as epiphytes, perched on tree branches and in rock crevices rather than in heavy ground soil, which is why they want airy, fast-draining conditions and resent staying wet. Keeping that origin in mind makes every propagation step easier to understand: these are not desert cacti, but they still root best when the cut end is allowed to dry and the medium stays on the lean side of moist.
The flat, scalloped pads you see are not leaves; they’re flattened stem segments joined end to end. Each joint between two segments is a natural breaking point, and that’s exactly where you’ll take your cuttings.
When to propagate: timing around the bloom
The best time to take cuttings is in spring or early summer, once the plant has finished flowering and is settling into a stretch of active growth. After the bloom cycle ends, a Christmas cactus naturally pushes fresh segments, and a plant that’s gearing up to grow puts that same energy into rooting a cutting.
What you want to avoid is taking cuttings while the plant is setting buds or in full flower. During that stretch it’s pouring its resources into the blooms, and a cutting taken then tends to sit and sulk rather than root. If you spot a piece that snaps off accidentally during the holidays, you can still try to root it, but expect it to be slower; the odds and the speed both improve if you simply wait until after the show is over.
There’s a practical bonus to propagating right after bloom: many people prune or pinch their plant in spring to keep it bushy, so the trimmings you’d otherwise compost become free cuttings.
Taking the cuttings: where and how to break
This is the part that surprises first-timers with how simple it is. You don’t even need scissors for the cut itself.
The reliable method:
- Choose a healthy parent. Pick a plant with firm, plump, deep-green segments, not wrinkled, limp, or reddish ones, which signal stress.
- Find a Y-shaped or straight section of stem with at least two or three segments.
- Pinch the stem at a joint between two segments and gently twist. A healthy segment pops cleanly apart at the natural seam.
- Aim for two to three segments per cutting. A single segment can root, but a slightly longer piece has more stored energy and roots more dependably.
If you’d rather cut than twist, use clean, sharp scissors or snips and sever right at a joint, then wipe the blades between plants to avoid spreading any disease. Twisting is usually tidier because the segment separates exactly where it’s meant to.
One healthy parent plant can give you several cuttings at once without harm, so this is an easy way to fill a hanging basket or share starts with friends. Just don’t strip a single stem bare; take a segment here and there so the parent keeps its shape.
The step everyone skips: let the cuttings callus
Here’s the single habit that separates cuttings that root from cuttings that rot. After you take a cutting, do not plant it right away. Set the pieces on a paper towel, a windowsill, or an empty tray, out of direct sun, and leave them for one to two days. In that time the moist, exposed cut end dries and forms a slightly hardened layer called a callus.
That callus matters because a fresh, wet cut is an open door for rot. Planted straight into damp soil, the raw end soaks up water and bacteria faster than it can grow roots, and it turns soft and mushy from the bottom up. A callused end, by contrast, seals the wound and lets the cutting root from a protected base. In a humid room you might give it the full two days; in dry air, a day is often plenty. The cut surface should look dry and slightly puckered, not wet and glossy, before it goes anywhere near soil or water.
This one pause, easy to rush past in your excitement, is the difference-maker. Skip it and you stack the deck toward failure no matter how good the rest of your technique is.
Rooting in soil
Soil rooting is the most common route, and the cuttings often establish a touch faster than water-rooted ones because they never have to transition from water to soil later.
Set it up like this:
- Use a fast-draining mix. A blend made for cacti and succulents is ideal. You can also lighten a standard houseplant mix with extra perlite, coarse sand, or orchid bark so water runs through freely.
- Choose a small pot with drainage holes. A 3- to 4-inch pot suits a few cuttings. A snug container keeps the mix from staying wet around a small cutting.
- Insert the callused end. Push the bottom segment about half an inch to an inch into the mix, just deep enough to stand upright. You can root several cuttings around the edge of one pot.
- Moisten lightly, then ease off. Dampen the mix so it’s barely moist, like a wrung-out sponge, and let it dry slightly between waterings while rooting.
Set the pot somewhere bright but out of direct sun, which can scorch or dehydrate an unrooted cutting. Normal room temperatures, roughly 65 to 75°F (18 to 24°C), are comfortable for rooting. Some people tent a loose plastic bag over the pot to hold humidity, which can help in very dry air, but prop it open or remove it daily so condensation doesn’t build up and invite rot. Honestly, in an average home, a Schlumbergera roots fine without any cover at all.
A light rooting hormone on the callused end can nudge things along, but it’s entirely optional; these cuttings root readily on their own.
Rooting in water
Water rooting is the fun option because you get to watch the roots appear, and for a Christmas cactus it works reliably.
To do it, rest the callused cutting on the rim of a small glass or jar so only the bottom segment’s tip dips into the water; you don’t want the whole base submerged. A narrow-necked bottle or a piece of cardboard with a slit across the top holds the cutting in place at the right depth. Change the water every few days to keep it fresh and oxygenated, and keep the glass in bright, indirect light.
The catch with water rooting is the handoff to soil. Roots grown in water are a little different from roots grown in soil, and a cutting left in water too long can struggle when you finally pot it. Move it into a fast-draining mix once the new roots reach about an inch long, and keep the soil lightly moist for the first couple of weeks so those tender water roots adjust without drying out.
How long it takes and how to know it worked
Patience is the main ingredient now. Most Christmas cactus cuttings root in roughly three to six weeks, though it can run faster in warm, bright conditions and slower in a cool or dim spot. Resist the urge to keep poking around in the soil to check.
Two gentle signs tell you roots have formed. First, the tug test: after a few weeks, lightly pull on the cutting. If it resists, anchored in place, roots have taken hold. If it slides up easily, give it more time. Second, watch the top: a new segment beginning to push from the tip of the cutting is a strong signal that the base is rooted and the plant has shifted into growth.
While you wait, don’t be alarmed if a cutting looks slightly limp or a touch wrinkled at first. As long as it stays firm and isn’t turning soft, dark, or mushy at the base, it’s simply living off its stored reserves until roots take over.
Potting up your new plant
Once a soil cutting passes the tug test and is clearly growing, you can treat it like a young Christmas cactus, though there’s rarely any rush to move it. If you rooted several cuttings in one pot, you can leave them together for a fuller plant or separate them carefully into their own containers.
When you do pot up, use the same fast-draining, cactus-friendly mix and a pot with drainage holes only a size or so larger than the root ball. These plants actually bloom better when slightly root-bound, so don’t over-pot. Settle the cutting at the same depth it rooted, firm the mix gently, and water it in lightly. From there, shift to normal Christmas cactus care: bright indirect light, watering when the top inch of soil dries, and a rest with cooler temperatures and longer nights in fall to set the next round of buds.
A freshly potted cutting won’t bloom immediately; give it a season or two to bulk up. The wait is worth it, since a plant you rooted yourself often becomes the one you’re proudest of.
Why cuttings fail, and how to avoid it
Almost every failed Christmas cactus cutting traces back to one thing: too much moisture at the cut end. Reading the symptom tells you which mistake to fix.
The cutting turns soft, dark, or mushy at the base. This is rot, and the usual causes are skipping the callus step, planting into soggy soil, or watering too often. The fix is prevention: always let cuttings dry and callus for a day or two, use a fast-draining mix, and keep it only barely moist while rooting. If a cutting has already begun to rot but the upper segments are still firm, you can sometimes save it by snipping off the mushy part, letting the new cut callus again, and restarting.
Nothing happens for many weeks. Slow rooting is often just cool temperatures, low light, or bad timing, like cuttings taken during budding or bloom. Move the cuttings somewhere warmer and brighter (still no direct sun) and be patient. As long as the segments stay firm, they’re usually still viable.
The cutting shrivels and dries out. Less common than rot, but it happens with bone-dry soil or hot, direct sun on an unrooted cutting. Keep the medium barely damp rather than fully dry, and keep cuttings out of harsh light until they’ve rooted.
Mushy water-rooted roots after potting. If a water-grown cutting collapses soon after going into soil, the transition was too abrupt. Move cuttings to soil while the water roots are still short, around an inch, and keep that first soil lightly moist so the roots adapt gradually.
Going further
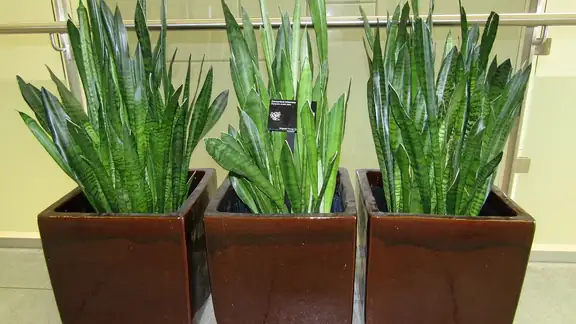
Propagating a Christmas cactus is a great confidence-builder because the cuttings practically root themselves once you respect the callus step and keep the soil from staying wet. If you’ve caught the propagation bug and want another nearly foolproof plant to multiply, our guide on how to propagate a snake plant covers an even tougher beginner favorite that roots from a single leaf.
The bottom line: take a two- or three-segment cutting after the plant blooms, let the cut end callus for a day or two, root it in fast-draining soil or water, keep things barely moist, and wait a few weeks. Master that dry-callus pause and the rest takes care of itself.